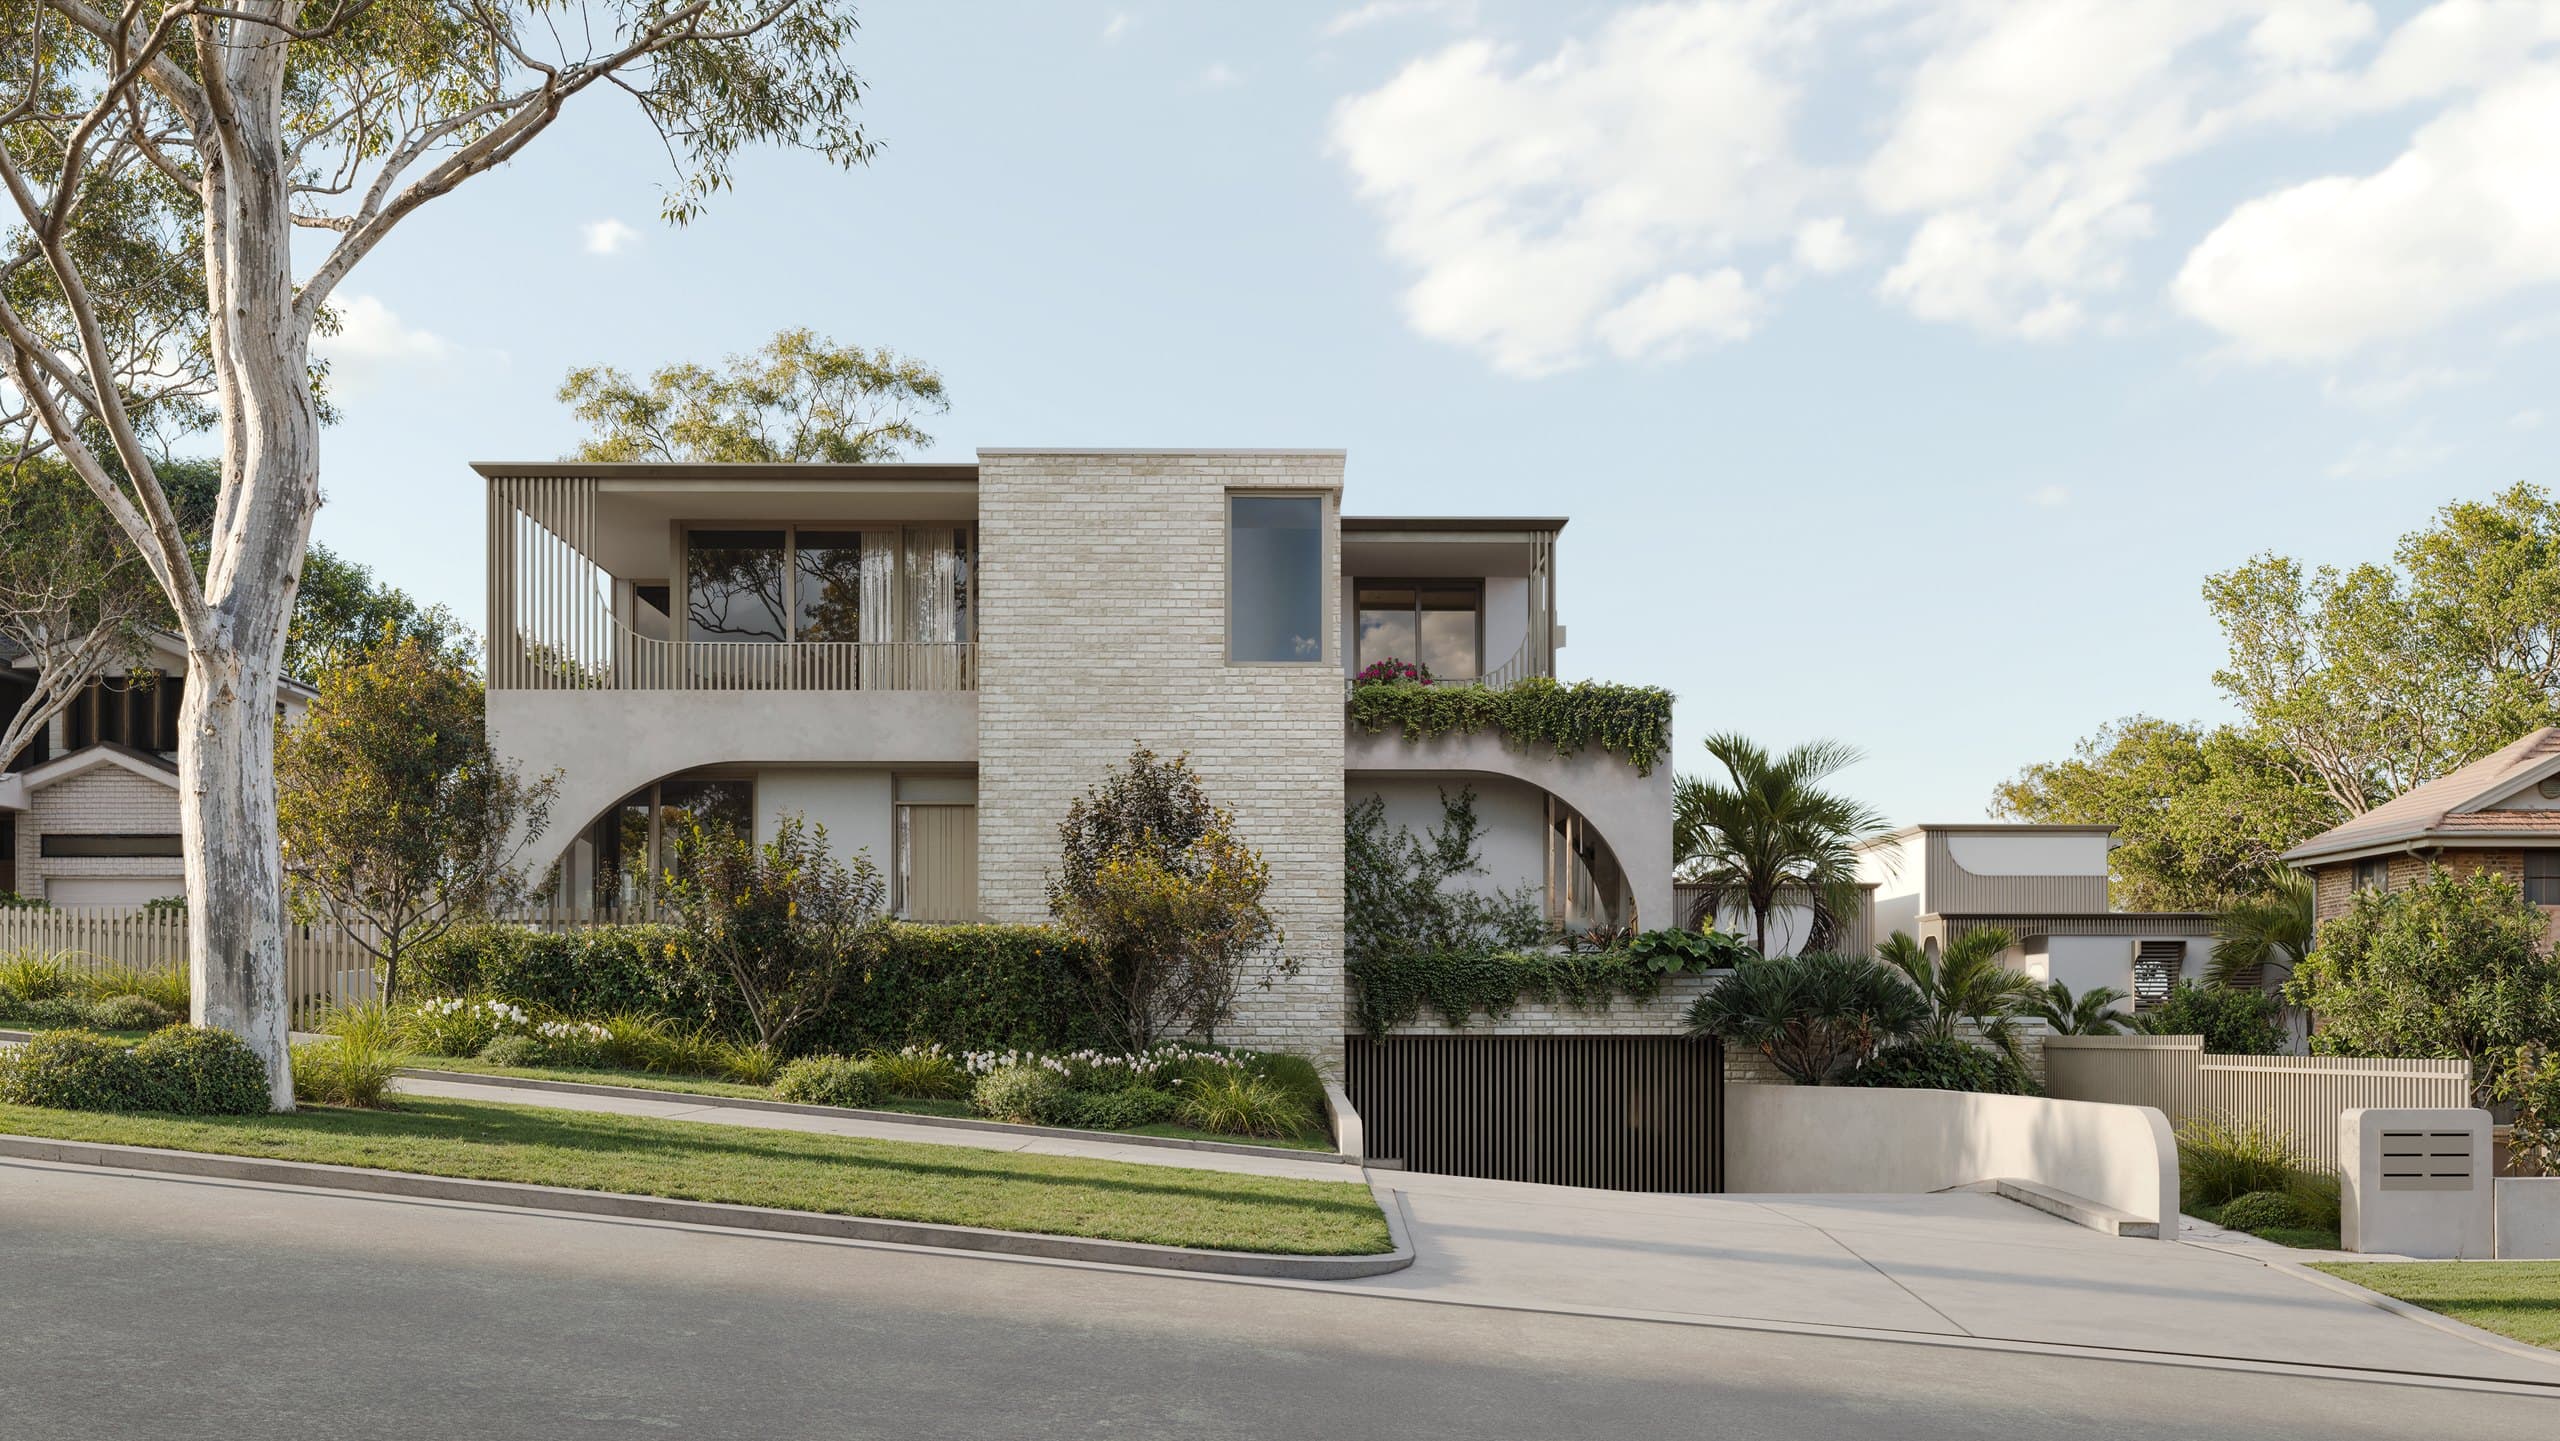
Australian developers
NSW development aerial renders: choosing site context and source photography
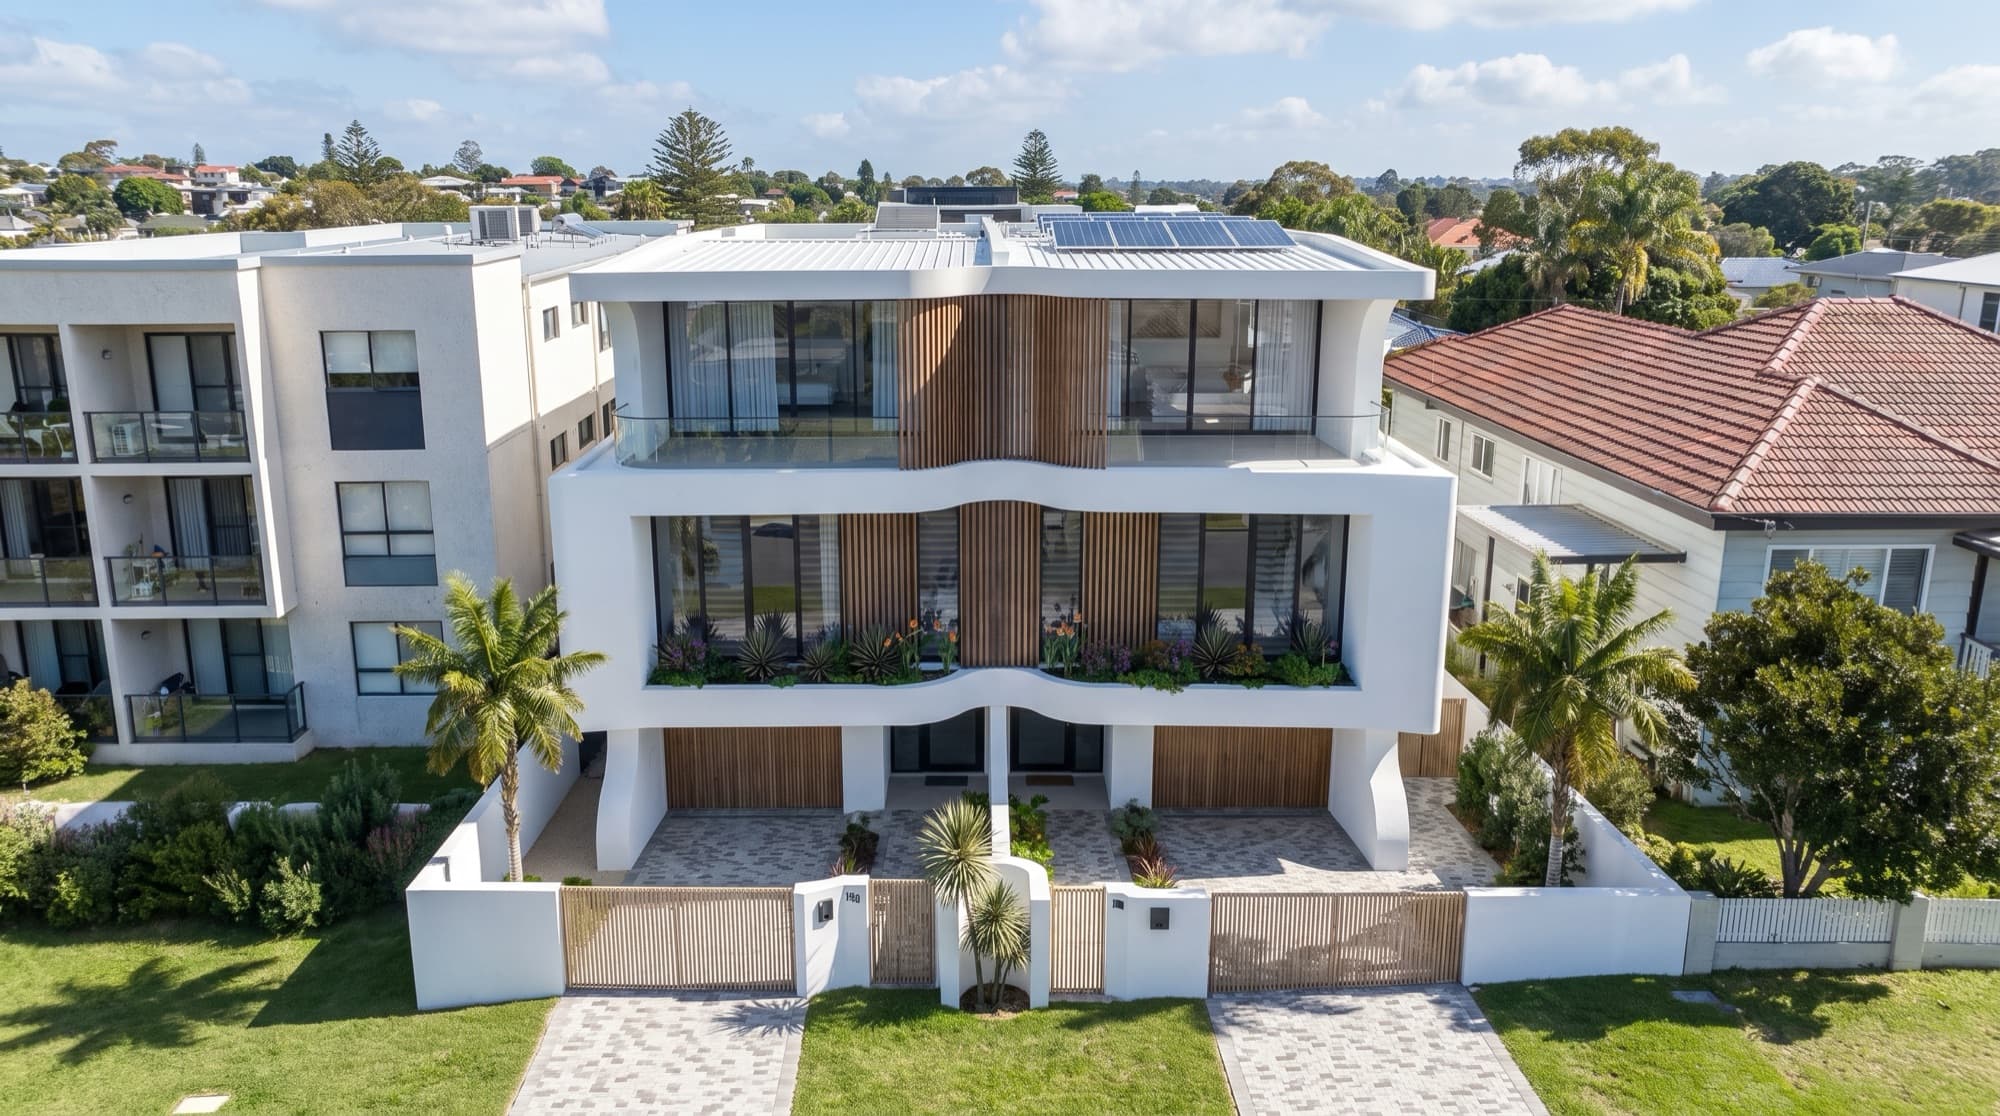
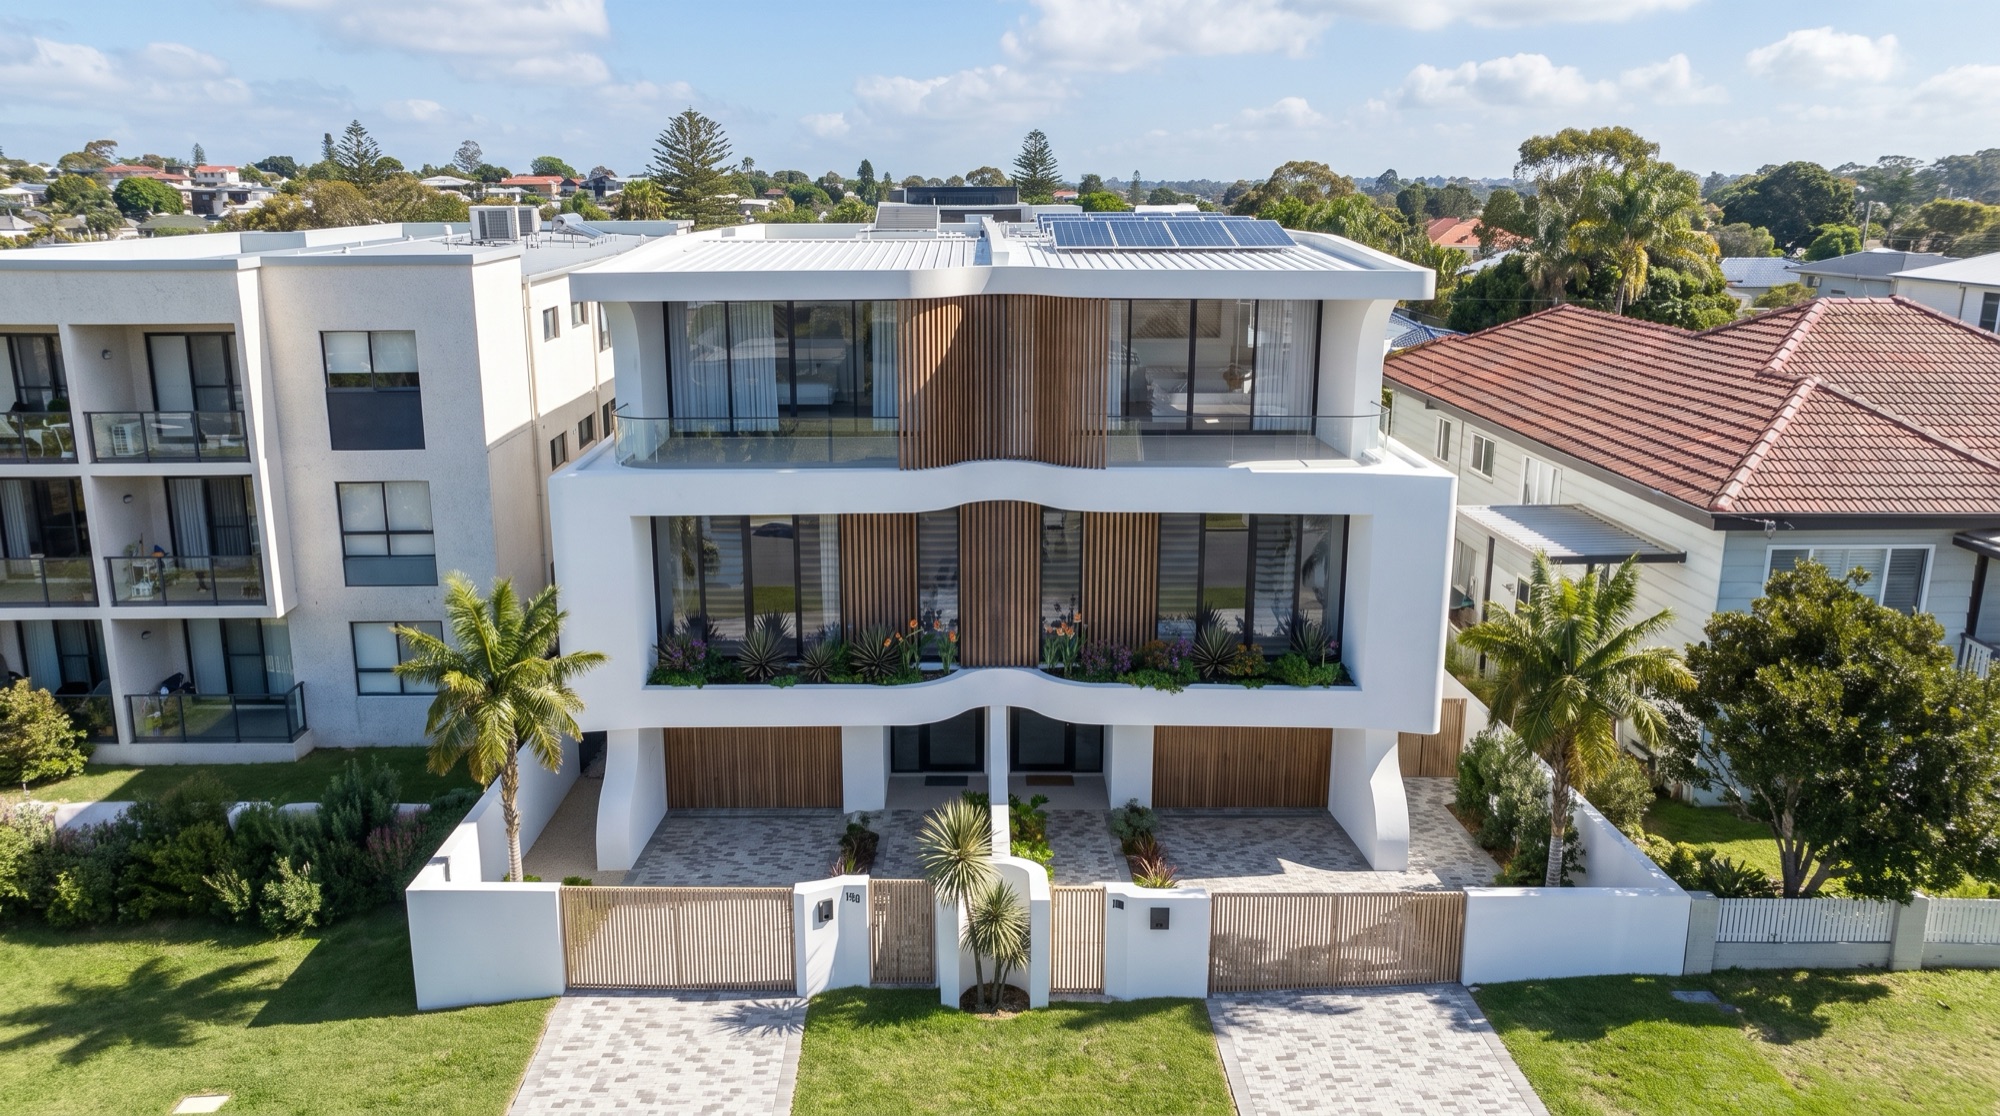
Use an aerial when a ground view cannot show how the homes sit on their site. For Soleil in Redhead, NSW, we placed the proposed homes among the existing rooftops. The aerial shows the neighbourhood; street, interior and outdoor views show the homes up close. Choose the camera and whether to use site photography before booking a shoot.
Choose the visual method before booking photography
A fully rendered aerial and a proposal composited into a real photograph are different jobs. The first creates a complete 3D view, including modelled surrounding context. The second starts from a source photograph and fits the proposed geometry to that viewpoint. A third option is a ground-level street or elevated view that may answer the same question more directly.
Write down what must be recognisable. Do buyers need to see the roof arrangement, the lot boundaries, a nearby street, an ocean outlook, access or the relative position of each home? If the local setting is central to the message, source photography may be valuable. If the goal is to explain site layout, a clear modelled aerial or plan graphic may be easier to read.
The Soleil gallery shows the aerial alongside exterior and interior views. The aerial locates the homes. The closer cameras show the materials and rooms.
Agree the camera with the studio first
Before commissioning new site photography, mark candidate camera positions and directions on a site plan. Ask the rendering team which angle will show the proposed building at a useful scale. A drone flight can produce attractive photographs and still miss the viewpoint needed for the composite. Have the operator check the location and applicable rules using a CASA-verified drone safety app.
For a site-photo composite, give the studio the original image files and available capture information. The survey, site boundaries, roof levels, massing and reference points help align the model with the photograph. Record the source-image date and any edits to existing context. Do not remove neighbouring elements simply to make the development more prominent. Our Australian drone-photography brief covers the handoff between the project team, operator and visualisation studio in more detail.
| Decision | Ask the team | Useful input |
|---|---|---|
| Purpose | Which site relationship must the view explain? | Buyer questions, campaign use, site plan |
| Viewpoint | Can the proposed homes and relevant context be read at this height? | Camera mark-up and test frame |
| Source image | Is this a real photograph or a fully modelled scene? | Original photography, capture details or context model |
| Alignment | What fixes the building to the site accurately? | Survey, levels, dimensions and reference points |
| Review | Who checks existing context and the proposed design? | Architect, developer and source-image review notes |
Check what the image actually promises
Aerial imagery can imply more certainty than the available design supports. Compare the model against current drawings and the relevant landscape plan. Check roof form, building position, access, vegetation and neighbouring context. If a finish or planting selection has not been made, treat it as provisional during review and avoid presenting it as a final specification.
Also decide how the image will be labelled. A rendered proposal placed into site photography should be described in a way that helps viewers understand it is a visualisation. The same applies to a fully modelled aerial. The render approval checklist gives the project team a practical review sequence.
If the image is for a planning submission or expert evidence, the planner and relevant consent authority must define the required method and supporting records. A campaign aerial should not be described as a verified view merely because it uses a real photograph. The NSW planning versus marketing guide explains that separate scope.
Place the aerial in the wider campaign
An aerial often works best after a more immediate hero image has introduced the building. At Soleil, the coastal exterior and interior views convey what the homes look and feel like; the aerial then locates them among Redhead's rooftops. The build-up film adds a moving sequence. A campaign may use those assets in different positions on the development website, listing, brochure and sales presentation. Decide the crop and resolution required for each placement before final export.
Our NSW residential render brief compares Soleil with Dudley Avenue in Caringbah to help decide whether an aerial belongs in your own view list. The NSW service page links to both delivered projects. Send us the site plan and candidate photographs if you want a scoped aerial brief.
Frequently asked questions
Do we need a drone photo for every aerial render?
No. Aerials can be fully modelled or composited into site photography. Choose the method from the question the view must answer and the level of real context needed.
What should we send before the camera is chosen?
Start with the site plan, current building drawings, survey, context photographs and a short description of what the aerial must explain. The studio can then advise which camera and source image will suit the brief.
Is a site-photo composite automatically a verified planning view?
No. The purpose, method, evidence and review requirements for planning imagery must be defined by the relevant project specialists and consent authority.

Plan an aerial for your NSW site
Share the site plan, current drawings and any candidate photographs so we can define the camera and source-image scope.
Discuss your project