Australian developers
How do you brief an accurate Gold Coast apartment view render?
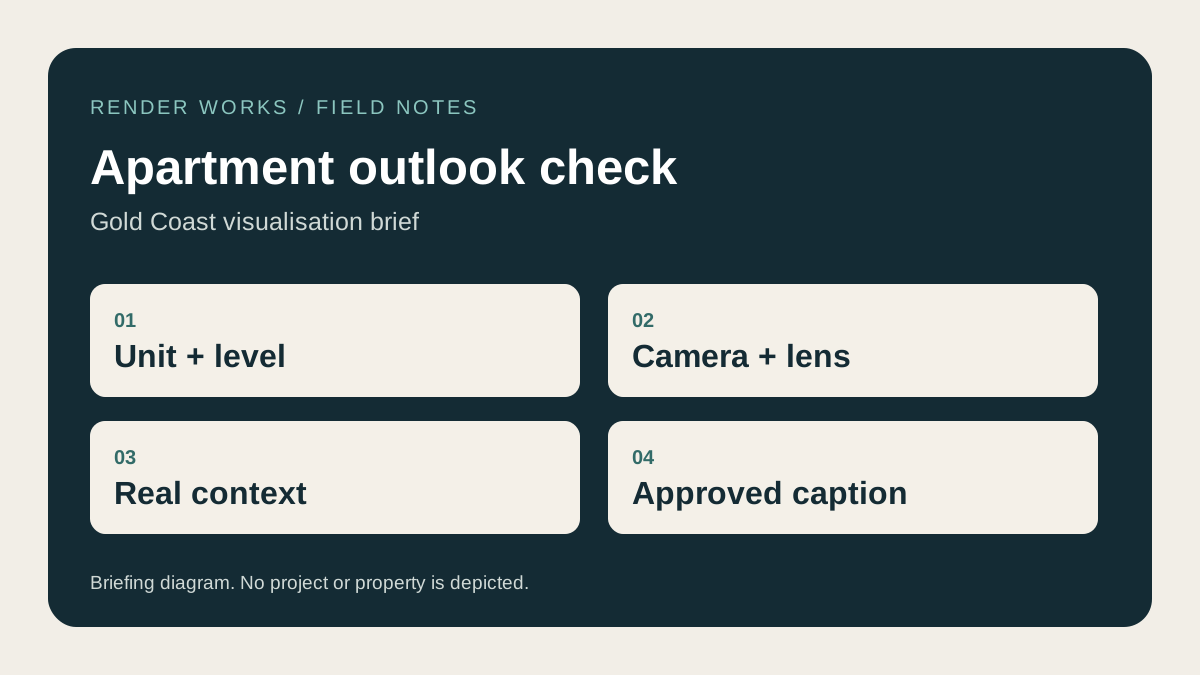
Start with a specific apartment and a specific camera position. An outlook from level two cannot stand in for one from level twelve. Record the floor level, finished floor height, camera direction and field of view before anyone models the skyline or chooses a dramatic crop. Then check the surrounding buildings and landscape against current site material.
Which facts fix the viewpoint?
Give the visualisation team the unit plan, building section, survey levels and orientation. Mark where a person would stand in the room or on the balcony. A camera centred on the balcony edge can show a different view from one set back behind glazing. Record that choice so each reviewer is looking at the same proposed image.
| Record in the brief | Why it matters |
|---|---|
| Apartment and level | Identifies the actual unit being represented |
| Finished floor and camera height | Sets the eye position above the site datum |
| Camera bearing and lens | Controls which part of the outlook appears and how wide it feels |
| Balcony and window geometry | Shows what can genuinely be seen from the selected position |
| Date of context photography | Makes later changes to surrounding sites easier to trace |
How do you check the surrounding context?
The City of Gold Coast's City Plan interactive mapping and property enquiry let a team review zones and overlays for a property. The City's building-height study explains why height and landscape features matter to the city's planning. Neither source replaces a current survey or a site-specific check of neighbouring buildings.
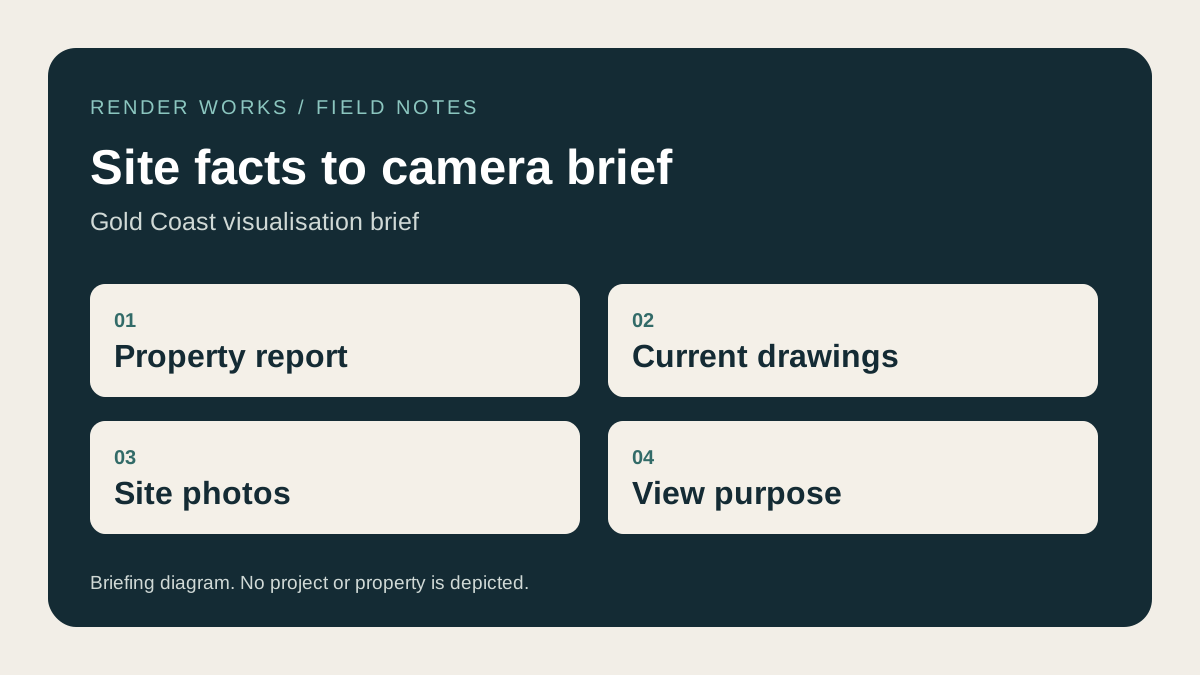
Photograph the real outlook from an agreed position where access permits. Note buildings under construction, approved projects that may affect the view, prominent trees and the horizon. Ask the project team to identify which surrounding information is confirmed and what should be described as indicative. A buyer-facing image should not silently remove a neighbour or extend a distant view by changing the lens.
What should reviewers sign off?
Review the camera before lighting and styling absorb the discussion. Use a simple contact sheet with the unit number, floor level, approximate camera position, lens and north arrow. The architect checks the building geometry. The project marketer checks what the caption promises. The developer confirms the selected unit and campaign use. Keep that record with the approved image so a later design change can be traced.
If the project needs a verified view for a planning process, ask the planner to specify a separate evidence method. Our Gold Coast planning versus marketing guide explains the different briefs. For the wider image set, see the Gold Coast developer render guide.
Frequently asked questions
Can one apartment outlook render represent every level?
Only if the image is explicitly presented as a general illustration. A unit-specific view needs the camera height and direction for that unit, plus a check of the surrounding context.
Should we choose the widest possible lens?
Choose a lens that helps a person understand the space and outlook without exaggerating either. Record the field of view so the approved crop can be reproduced.
What should we send Render Works first?
Send the selected unit plans, sections, survey and proposed camera positions, plus current photographs and a list of the units whose views will appear in the campaign. Start a Gold Coast brief with those files.

Check the view before rendering
Send the selected unit plans, sections and site photographs so the floor-by-floor camera brief can be reviewed.
Discuss your project