Australian developers
How to brief furniture and styling for off-the-plan interior renders
A useful interior styling brief explains how each room will be used, which design elements are fixed and what the furniture needs to demonstrate. Give the studio the current plan, key furniture dimensions, selected finishes and a small set of annotated references. Identify any items that are inclusions, upgrades or illustrative styling so the team can review them correctly.
For Australian off-the-plan developments, the aim is a room a buyer can understand. Furniture should show a plausible use of the space while preserving the architecture, circulation and features the campaign needs to explain. A style label such as “coastal” or “contemporary” is a starting point, but it leaves many practical decisions unresolved.
Begin with the room's purpose
State the intended use before choosing decorative objects. A living room may need to show conversation seating, a television position and a connection to the terrace. A second room may be a separate lounge or a study. Those are different furniture briefs even if the finishes are identical.
Use the project brief and sales strategy to describe the intended use. Avoid inferring a buyer's needs from broad stereotypes about an Australian suburb or household type. If the team expects a six-seat dining arrangement, say that explicitly and check it against the plan.
Identify the feature the camera must explain. It might be the kitchen's connection to dining, a built-in bench or an outdoor opening. Furniture placement should help that feature remain visible rather than accidentally concealing it.
What should the styling brief contain?
| Brief item | What to tell the studio |
|---|---|
| Room and dwelling type | Identify which layout the image represents. |
| Intended use | Describe the activities and seating arrangement the view needs to show. |
| Fixed design | Supply the current walls, glazing, joinery, fittings and material selections. |
| Furniture scale | Provide key dimensions or the exact product where it matters. |
| Styling direction | Annotate a few references with the qualities to carry into the scene. |
| Circulation | Identify doors, access routes and operating clearances that must remain visible and usable. |
| Inclusion status | Distinguish supplied features, optional packages and illustrative furniture. |
| Camera priorities | Name the relationships or features the image should explain. |
| Review owner | Confirm who combines design and marketing feedback. |
The finishes schedule template covers surface and product selections. Use it alongside the styling brief so the sofa direction does not become mixed up with approval of the flooring or joinery.
Separate the building from the styling layer
Start by identifying everything that belongs to the proposed design. Built-in cabinetry, windows, fireplaces, fixed lighting and appliances may need specific references. Their geometry and placement should follow the approved information, rather than being adjusted simply to improve the composition.
Loose furniture and accessories need a different discussion. If the home is not being sold with a furniture package, the brief should make clear that the furnishings illustrate a possible arrangement. Where a package or upgrade is part of the offer, identify the nominated items and the views in which they should appear.
Some objects sit between these categories. A pendant, curtain track or outdoor kitchen may be a supplied feature in one project and an illustrative choice in another. Resolve its status in the brief instead of leaving the studio to guess from a reference photograph.
Use furniture dimensions to test the arrangement
Provide dimensions for large pieces that define the room: the sofa, dining table, bed, island stools and any substantial cabinetry. If exact products are not selected, agree representative dimensions with the design team. Do not scale an oversized furniture model down just to make it fit without recording the intended size.
Check the arrangement on the plan as well as in the camera view. A chair can look comfortably positioned from one angle while blocking a route behind it. Consider access through doors, movement around a dining setting and how people reach the outdoor area. Ask the designer to confirm the relevant clearances rather than treating a perspective image as a dimensional assessment.
Keep the camera honest about the room. A very wide view can make a compact space difficult to interpret, while a tight crop can hide a useful connection. Agree the balance between showing the room and preserving believable proportions during the draft stage.
Example: living and dining at Dudley Avenue
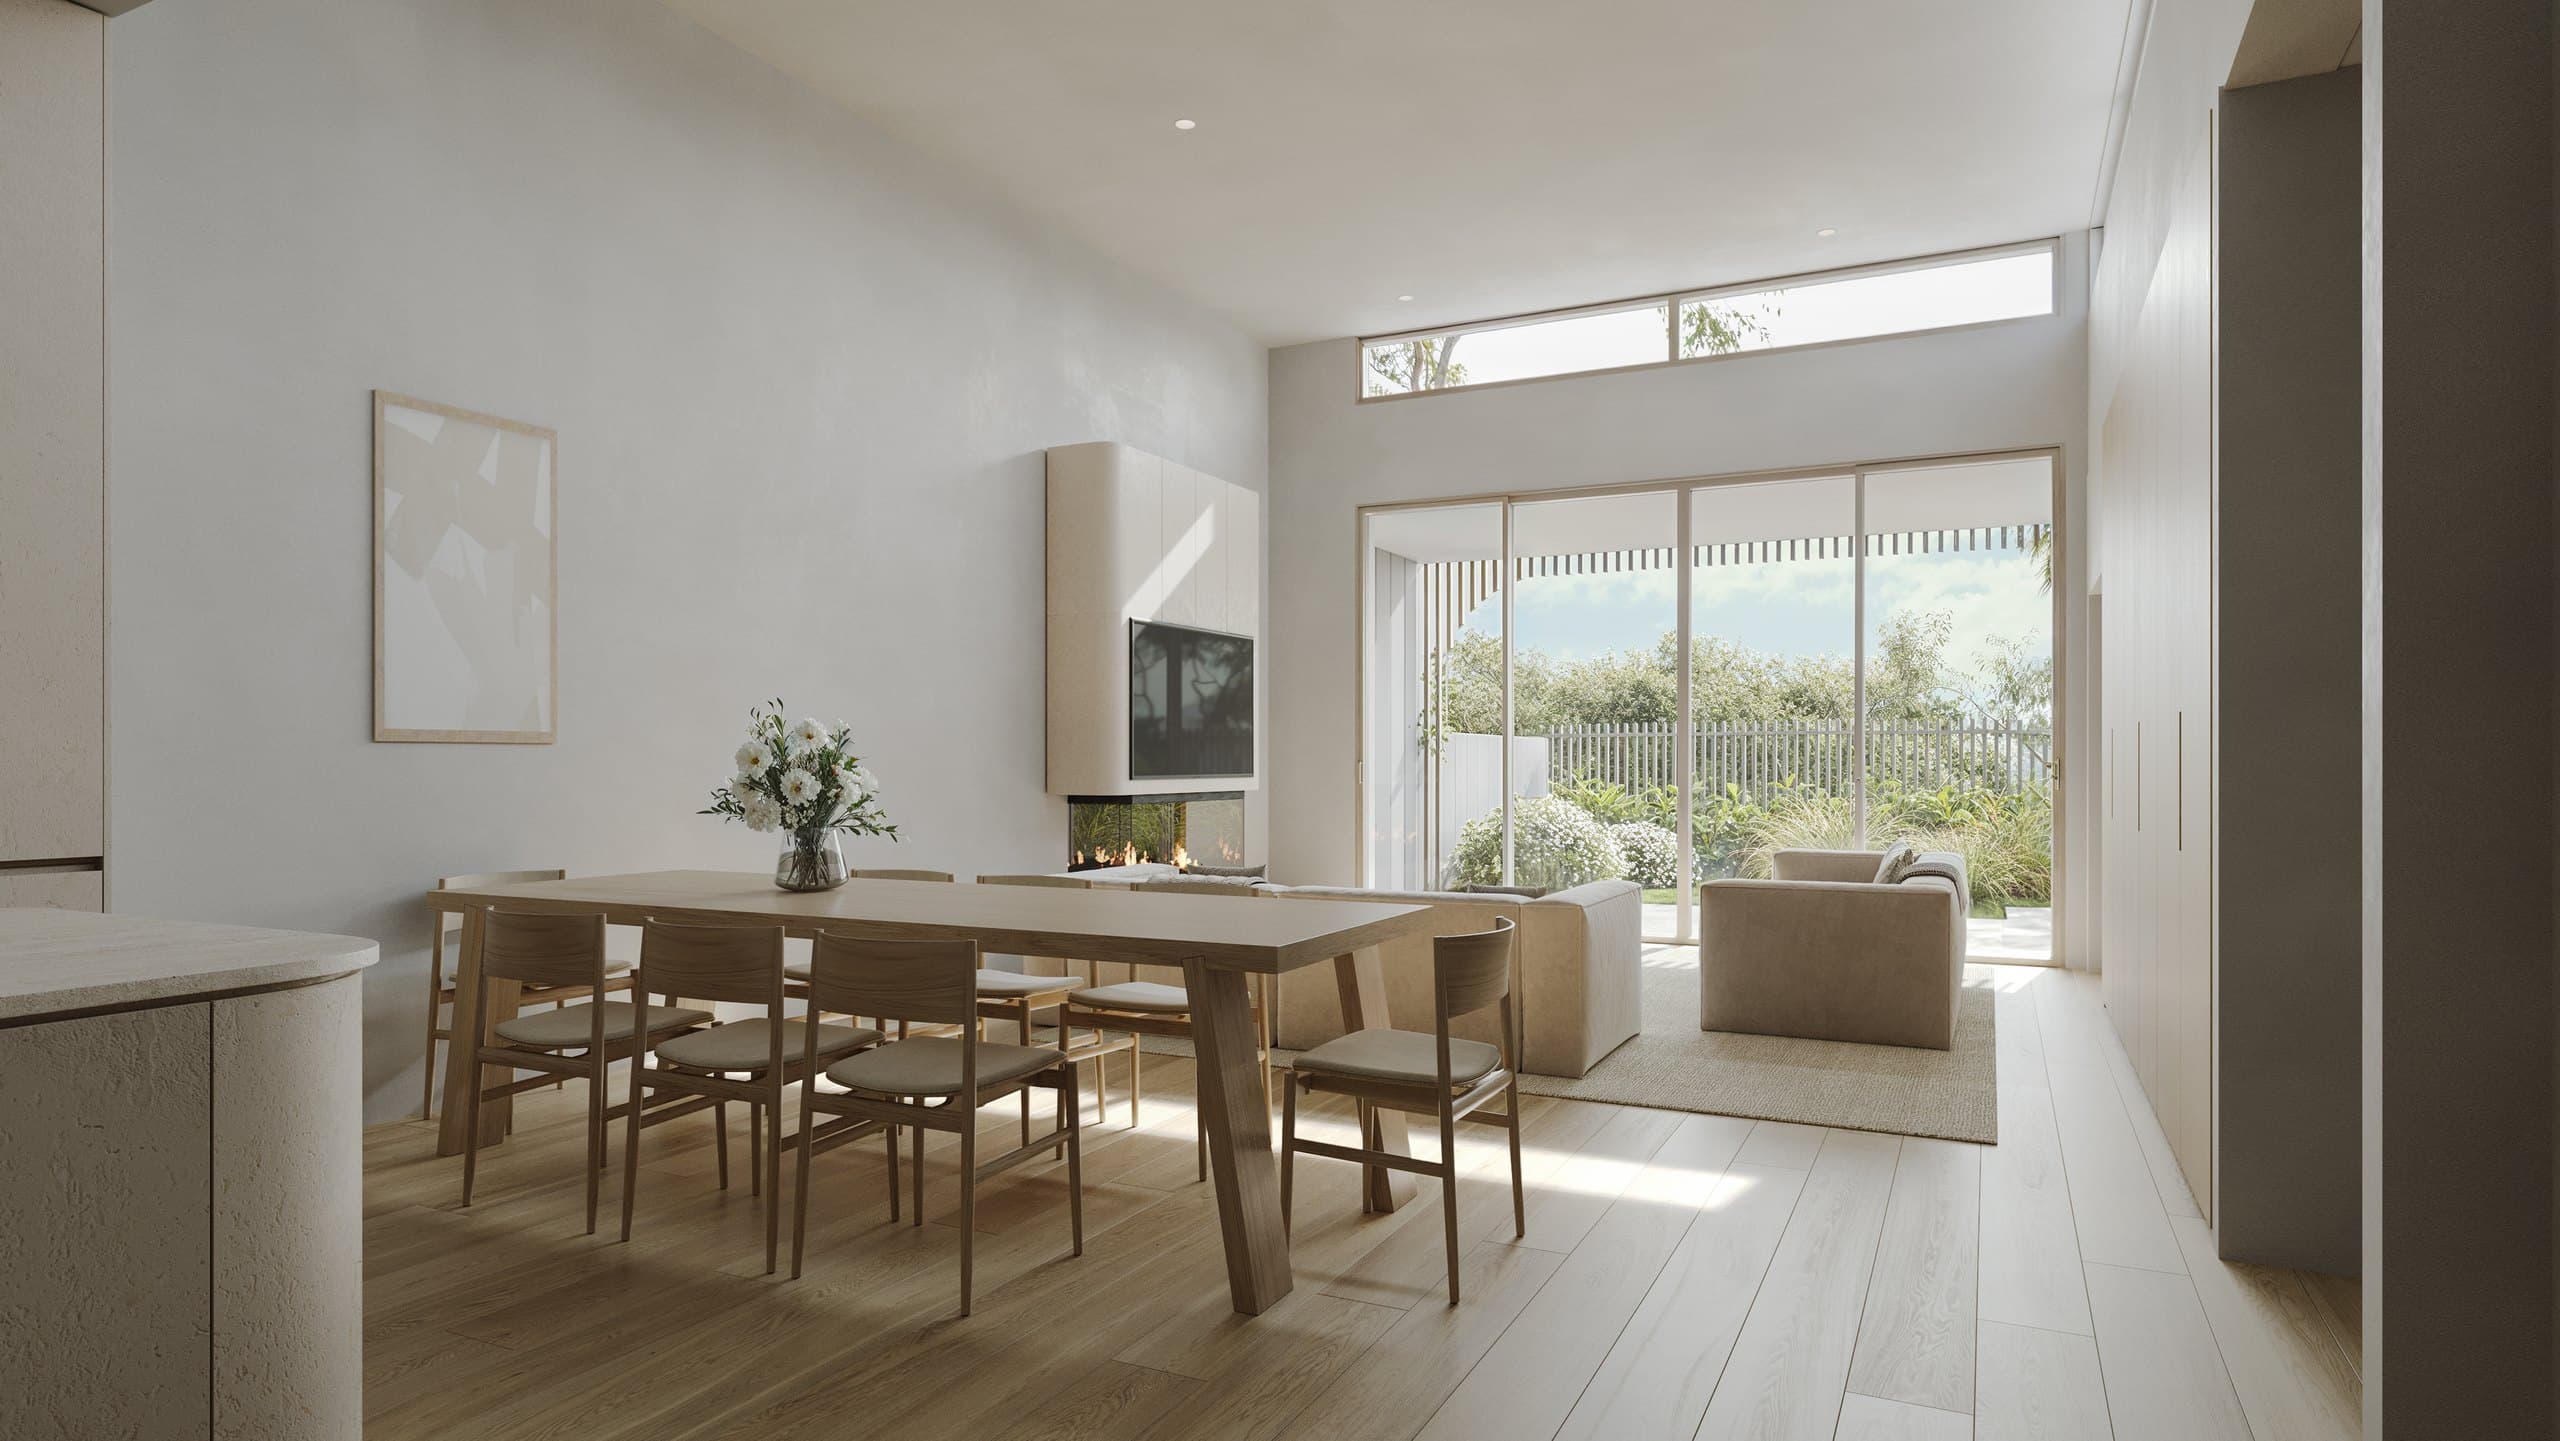
The Dudley Avenue renders in Caringbah, Sydney include a living and dining view with full-height glazing to the garden. The image gives the furnishings a clear role: they establish how the main shared area can be occupied while the glazing and outdoor connection remain visible.
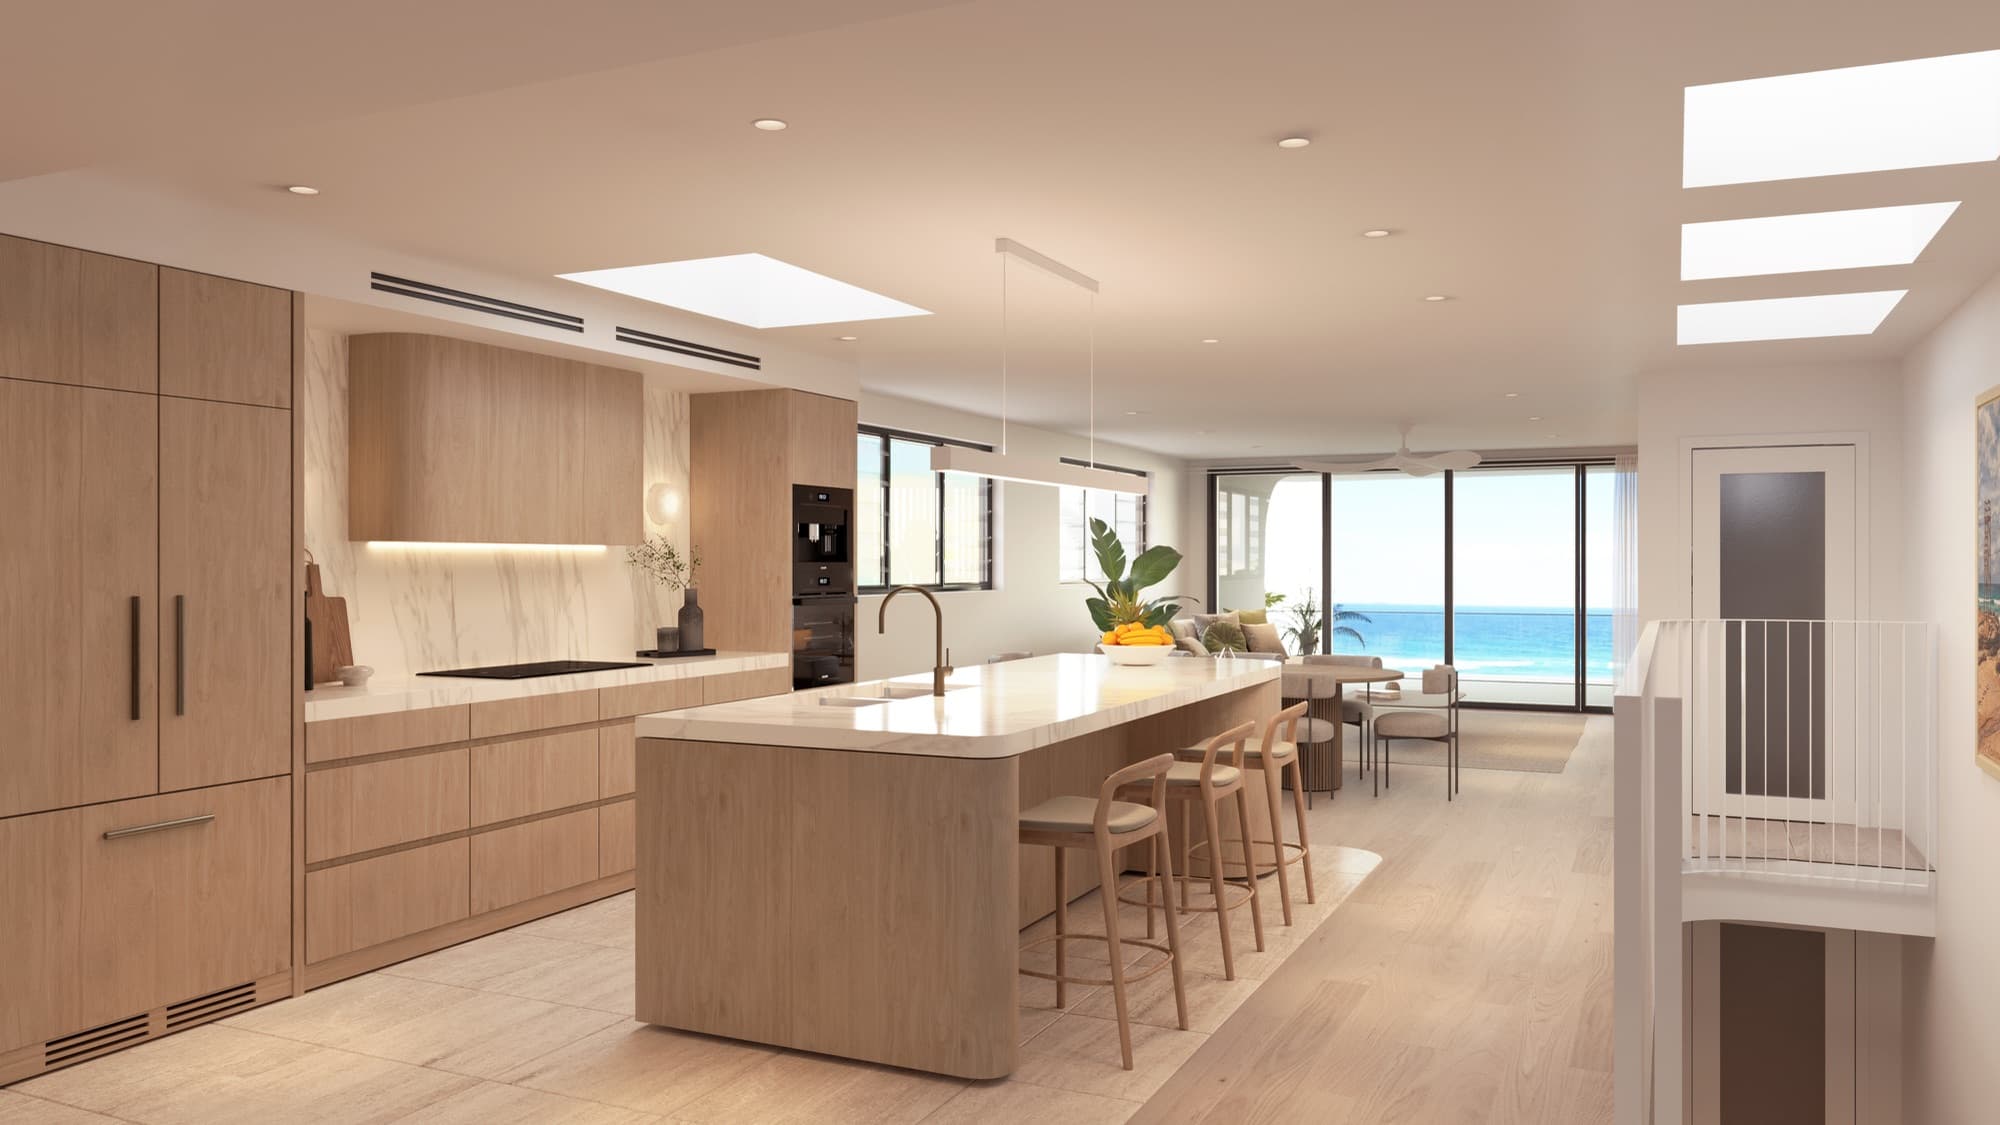
The companion kitchen view focuses on the island, pale timber cabinetry and the surrounding space. Together, the images explain different parts of the home. A styling brief for a comparable project should state which relationship each camera needs to show, rather than asking every view to include every room.
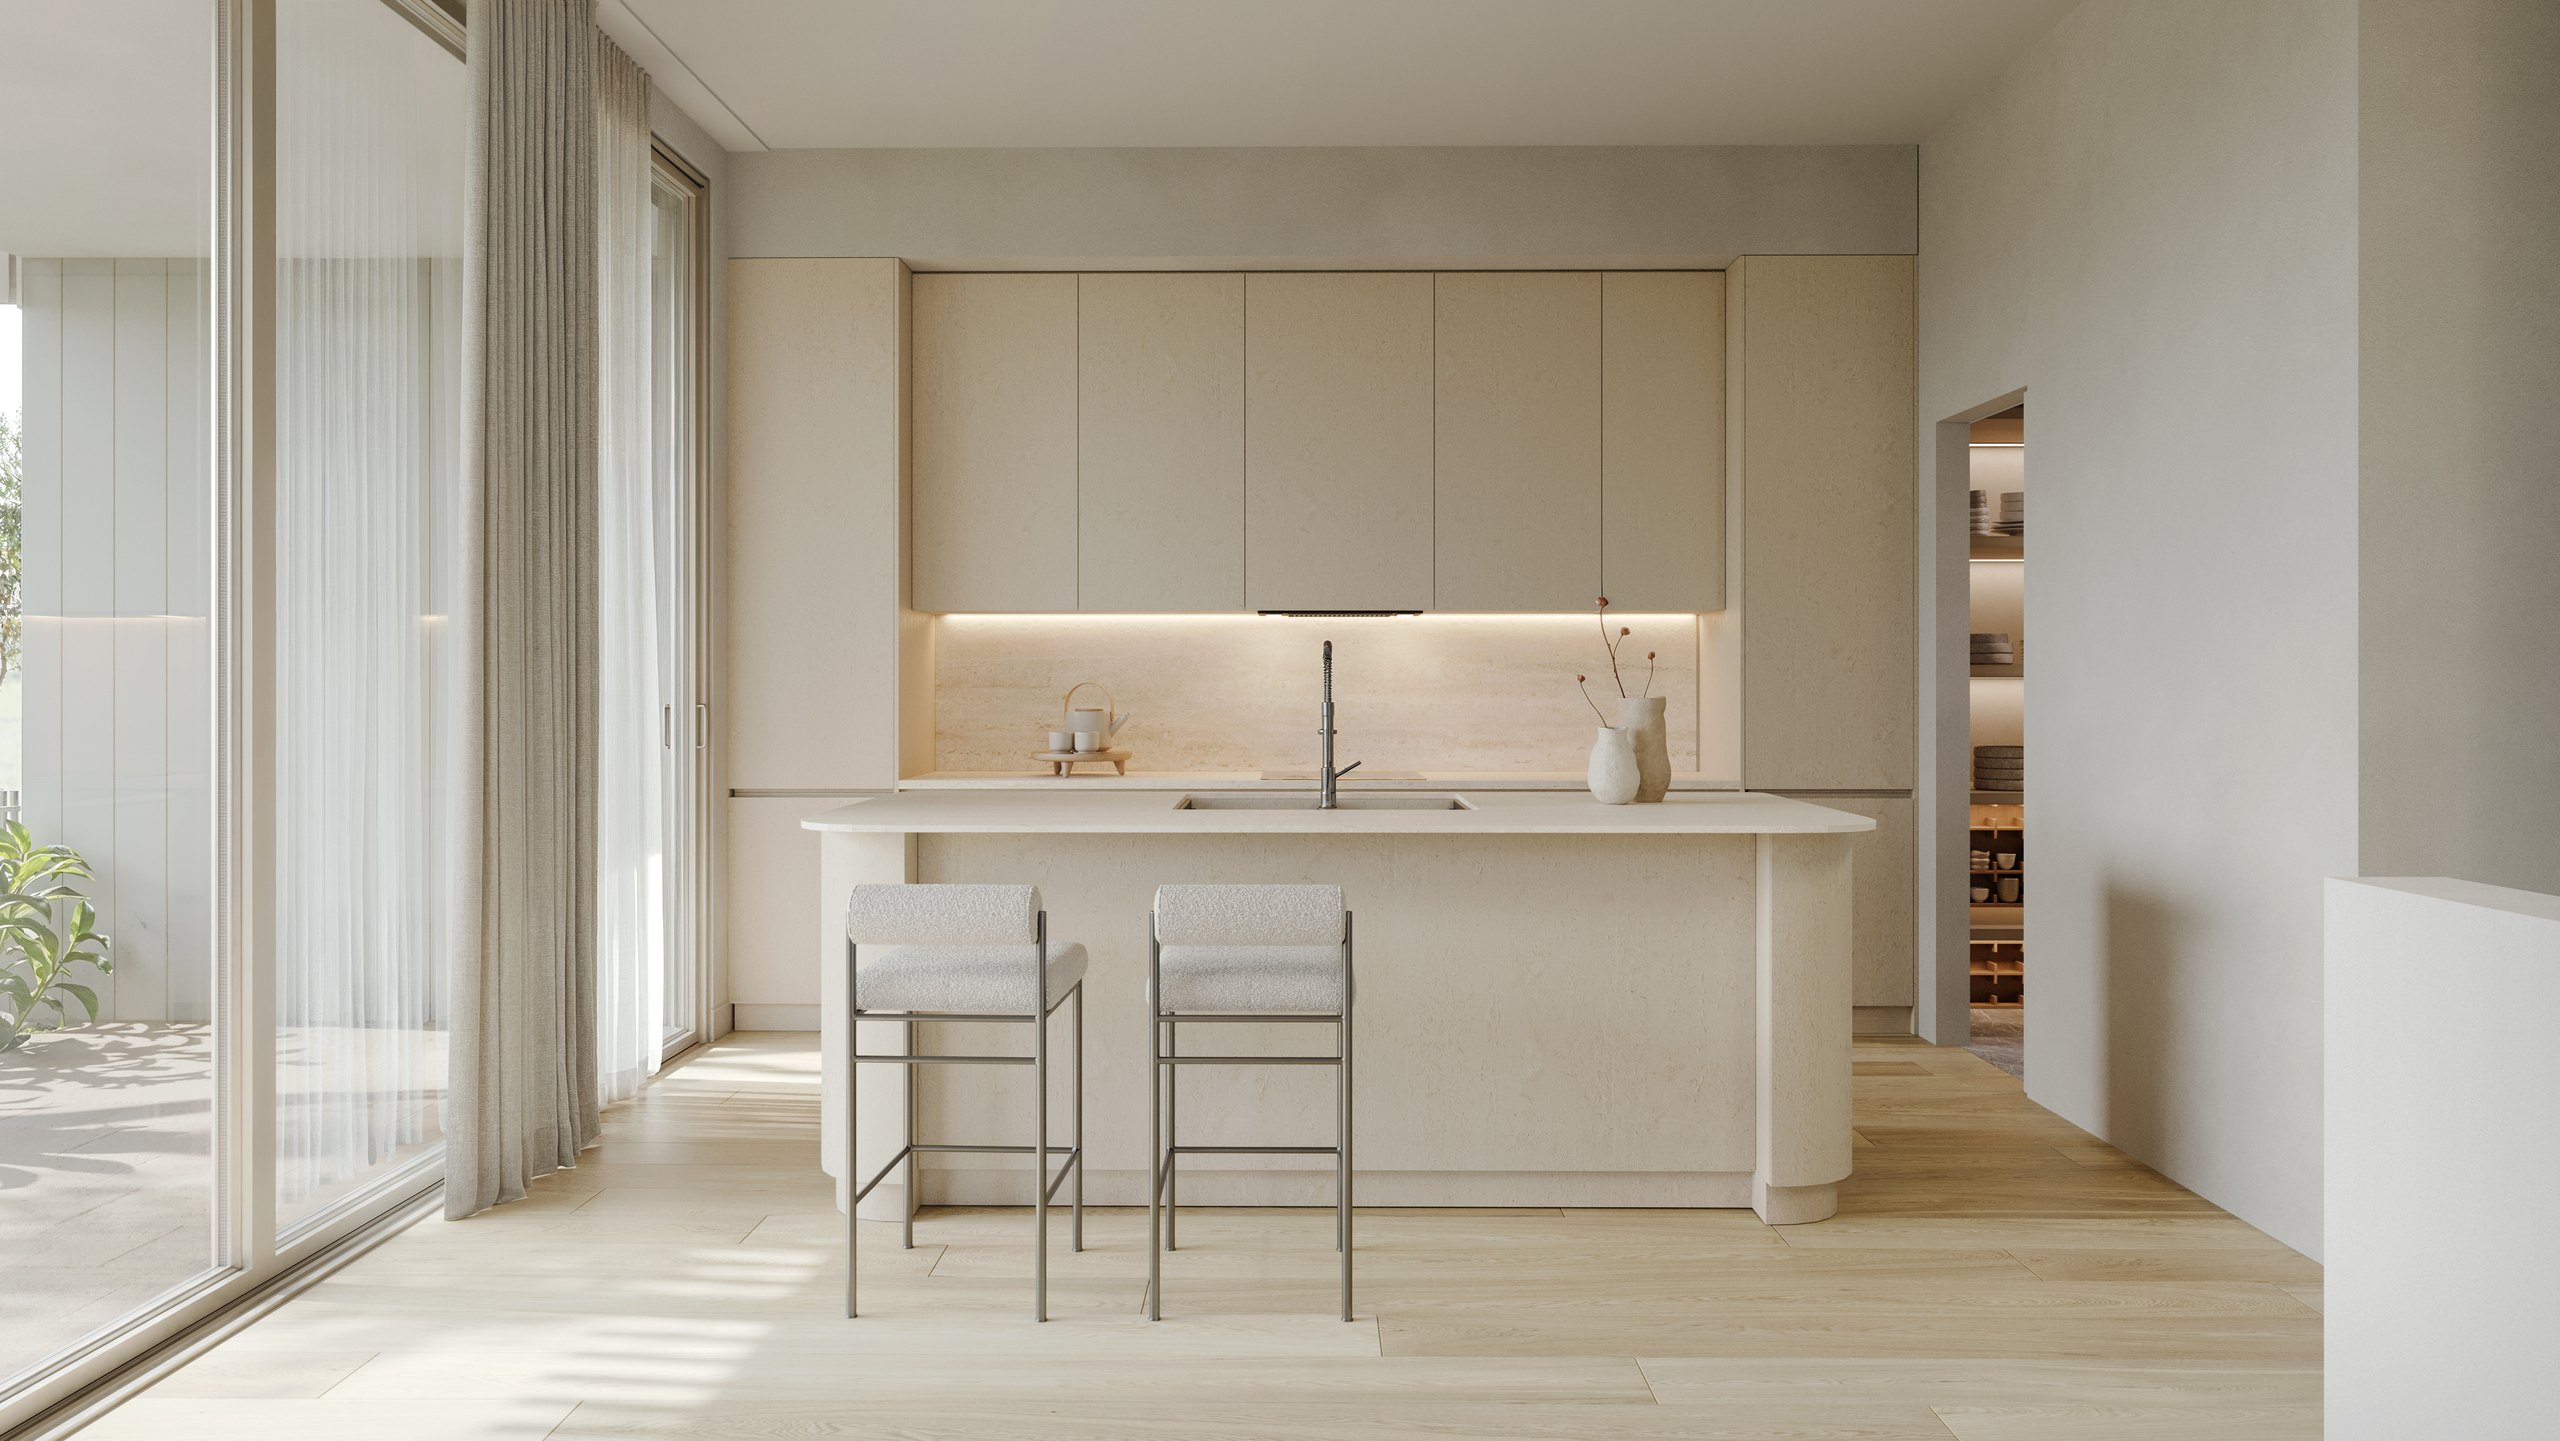
These are observations of the finished images. They do not establish the dimensions of the furniture or a private client brief. Use your own plans and selected products to specify a new project.
How should you choose reference images?
Select a small number of references and annotate them. Explain whether each image is useful for furniture shape, colour, textile texture, styling density or lighting. A full-room reference may contain architecture and finishes that have nothing to do with the proposed development.
For example, “use the low sofa profile and warm neutral upholstery” is more precise than “make it like this”. Add what is fixed by the project's drawings so a reference does not accidentally replace the specified joinery or window arrangement.
Keep conflicting directions visible. If one reference uses a heavily furnished room and another has very few objects, decide which should guide the scene. The studio should not need to average two incompatible references or discover the preferred one only after a detailed draft.
Write a brief that can be checked
The following is a fictional example of a concise living-room instruction:
Show the connection from the living area to the garden doors. Use a low-backed sofa and a separate chair, with dimensions confirmed against the plan. Keep the route to the doors clear. Use warm neutral upholstery and a restrained number of accessories. The fireplace, joinery and pendant follow the supplied design references; loose furniture is illustrative.
Each sentence provides a review point. The team can assess the sightline, arrangement, material direction and status of the objects. A phrase such as “make it feel luxurious” does not provide the same shared basis for feedback.
Add the relevant plan reference, camera number and approval owner to the brief. If a later request changes the intended use of the room, identify that as a changed instruction so the studio can assess the effect on the existing arrangement.
Keep styling consistent across the image set
When two cameras show the same room, keep the furniture, colours and object positions consistent unless the brief intentionally shows alternatives. A dining table that changes shape between views can make it harder for buyers to understand that they are looking at the same home.
Check the film as well if it uses the same interiors. The Soleil project in Redhead includes both furnished interior renders and a film, making it a useful example of a campaign where the spaces need to remain recognisable across formats.
Consistency does not mean making every room identical. A bedroom and a living area can have different furniture and textures while sharing the selected material palette. Use a small set of agreed choices to connect the spaces, and let their different uses determine the arrangement.
Review what the styling hides
Look behind the decorative choices during draft review. Does a plant conceal a window edge that needs checking? Does an accessory hide the benchtop detail? Does a chair cover the joinery feature the camera was commissioned to show? Move or reduce the object if it interferes with the purpose of the image.
Also check reflections. Mirrors and glazing can reveal furniture, lighting or parts of the room that are not obvious in the main view. The reflected arrangement should remain consistent with the scene, and important design features should not be obscured by an unintended reflection.
Treat styling and lighting comments separately where possible. A fabric may appear too yellow because of the scene lighting, the material itself or both. Point to the reference and describe the difference you see rather than asking for several unrelated changes at once.
Coordinate feedback before final approval
Collect comments from the developer, designer and marketing team in one review. Use numbered annotations on the draft and connect them to the brief. Resolve conflicting directions before sending the studio a combined response.
Confirm the fixed design first, then furniture arrangement and scale, then smaller accessories. This order helps prevent time being spent polishing a room whose layout still needs to change. The exact production stages and review allowance should be agreed in the project scope.
Before release, check the final images against the current drawings and selections using the render approval checklist. Keep the approved file version and any wording about furnishings with the delivery record so the agent and brochure designer use the same information.
Frequently asked questions
Can the studio choose the furniture for us?
The studio can work from an agreed styling direction, subject to the project scope. Supply the intended room use, design constraints and references, then review the proposed arrangement. Exact product modelling or a specified furniture package should be identified separately.
Do we need an interior designer's complete scheme?
Provide the available selections and clearly identify what is unresolved. A complete scheme reduces ambiguity, but the immediate task is to establish which decisions are fixed and who will approve the remaining choices.
Can one interior image represent every dwelling type?
Only use it where the represented layout and features are appropriate, with clear accompanying information. If the types differ materially, discuss separate views or another way to explain those differences. Do not assume similar finishes make different plans interchangeable.
Should we include people in interior renders?
Decide by the scene's purpose and the destination's rules. People can introduce movement or scale, but they can also obscure the space. Check portal requirements before including them in a version intended for property listings.
Can we change the furniture after the camera is approved?
Discuss the specific change with the studio. A replacement sofa can alter sightlines, shadows and the balance of the composition. Confirm its effect on the scope and approval sequence before treating it as a minor final adjustment.

Brief your interior renders
Send the plans, selected finishes and furniture references so we can discuss the rooms and views you need.
Discuss your project